Showing posts with label Project. Show all posts

Monday, June 18, 2012

Lilac Row

I've mentioned a few times that my mom and I have a booth at a local antique/flea market. We've been doing it for a year now, and it's been a lot of fun. We now have two booths and are participating in a local outdoor event with other vendors this weekend called Vintage Market Days.

So in preparation for the event (which my friend Sarah is joining us for!), I've been shopping and working like a busy bee. They have been doing a great job promoting the event and I wanted to have something set up for them to link to on their website. So I just started a little blog for Lilac Row. I really have no idea how often I'll update it (just one more thing to do!), but I'm going to try. Be sure to check us out.


Here are a few little projects I've been working on for Lilac Row and the upcoming sale. I have already packed up a ton of stuff, so there aren't too many pictures to share. We are trying to put together a mix of items for the home that are vintage, industrial and worn, along with hand painted signs, (new) throw pillows, painted/distressed furniture items and more. A collection of old and new, one-of-a-kind items.

Old gas can. Jute-wrapped bottles. Pillow. Vintage frame. Painted wood tray.

Floral pillow. Patina birdcage. Rattan footstool.

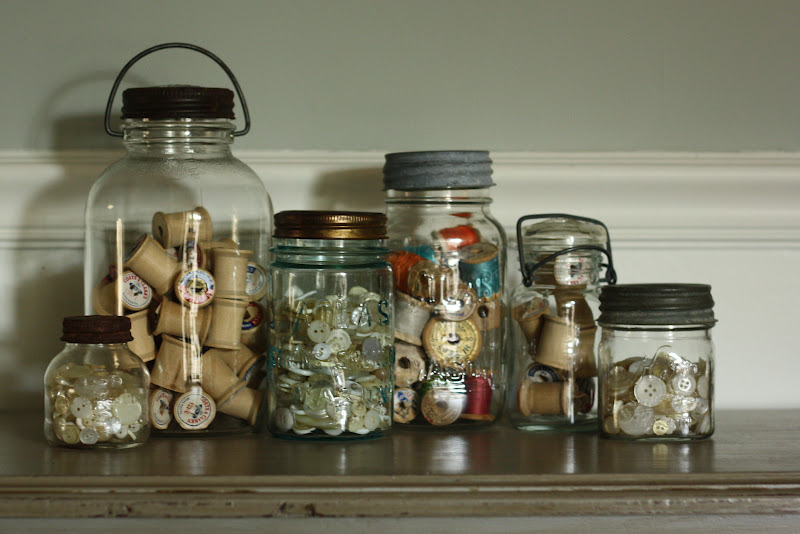
Jar collections w/ vintage buttons & spools

Reupholstered Suzani footstool

If you're local, I hope you'll come by and see us this weekend at Vintage Market Days!


Tuesday, November 22, 2011

Christmas Countdown {DIY Advent Calendar}


I'm so excited for the first Christmas that Evie will (hopefully) remember. She's so much fun right now and I can't wait to start all sorts of fun traditions with her. An Advent Calendar was definitely on my list to make to kick things off. 

After scouring Pinterest for ideas, here's the one I made:


What do you think? I kind of love it. 

Here are some quick and easy steps on how I did it. But it was so easy, I think it's pretty self-explanatory :)

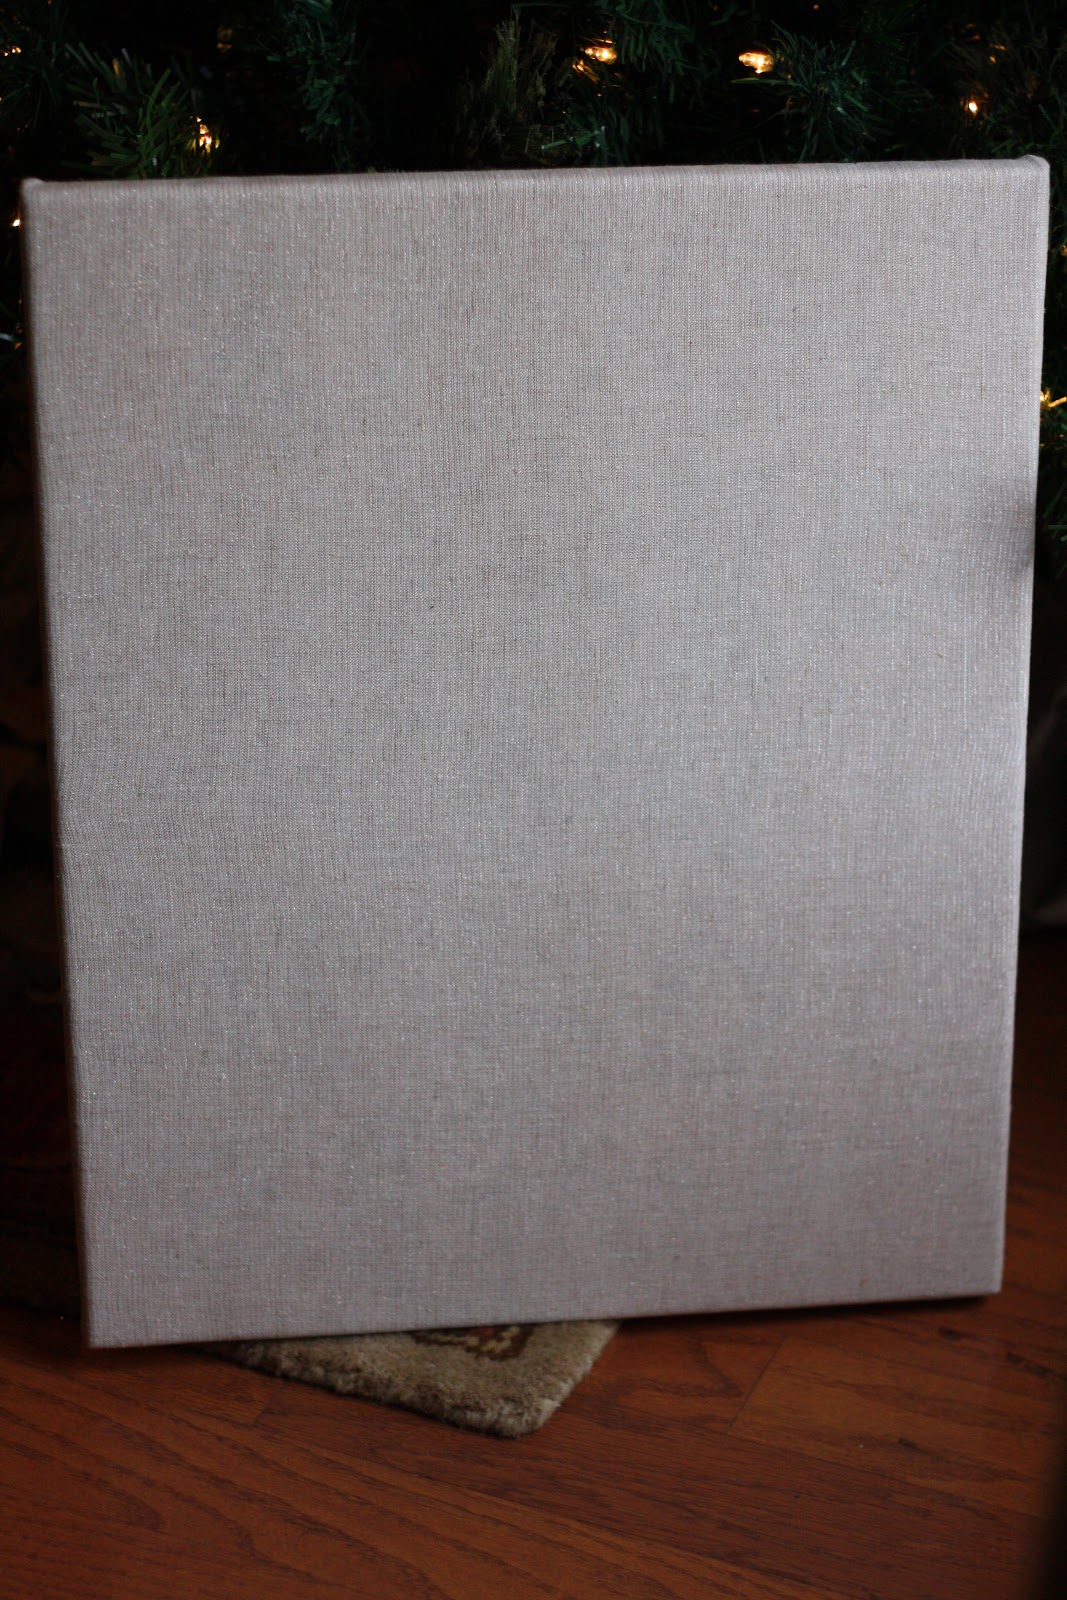
First up, buy a canvas or repurpose an old one laying around your house, like I did. This one had the alphabet painted on it in a range of blue hues. A pre-pregnancy nursery project that never quite made the cut. 


Find some fabric or wrapping paper you like and attach it to your canvas. I snagged some metallic linen in the remnant bin at JoAnn's a while back that was perfect for this. I just stapled it to the wooden frame of the canvas. You probably wouldn't want to staple wrapping paper.. would you? I don't know. It might rip. But your trusty glue gun would probably do the trick.


Make some little paper envelopes for each of the 25 days. I used some craft paper that I found underneath a roll of wrapping paper! But you could use card stock in any color you like. I used tacky glue to hold the envelope together.

*Make sure you do a little measuring before you make these, to see how big they should be. Mine were around 2 x 2.5 inches, which worked with the size of my canvas. 


Next, grab a sharpie and get to numbering!


After I had all my envelopes numbered, I laid them out to see how they looked. Fan-flippin-tastic. 
I like things to be lined up correctly, so I did some more measuring and used some painters tape as a guide when I started gluing these to my fabric (more tacky glue). I seriously would have had to throw this out or rip them off and start all over if they ended up crooked. But I'm weird like that.


Put some heavy books on top while they're drying, then start on your activities! 

As I've mentioned before, I didn't want to do presents for each day. I really want to create memories with Evie, so I came up with things that we can do together and for others. 


I used tags that we use to price items in our booth, so half my work was already done. These are tea or coffee stained (thanks Mom!), which gives them an aged look that I really like.


And finally, I just tied some twine on each tag! Easy peasy. I wish I had some fun red bakers twine, so that may get switched out down the line.. 


What do you think? I didn't do any extra embellishments or anything, because I want to use this for years, and don't want it to start looking dated (though I'm sure that's inevitable). Plus, I'm a simple kinda gal and this look really appeals to me. So there.


Will you be making an Advent Calendar this year??

Linking up:

The DIY Show Off


The DIY Show Off

Home Stories A2Z

** I'll be sharing this project on a local morning show on December 1 for those of you that know me in real life! Mom- remind me and I'll send you a link to see it when it airs! :) 

Friday, July 8, 2011

Some Finished Projects

Time for a little housekeeping, aka Operation Project Dump.
I've been up to all sorts of little projects and wanted to share a few with you here!

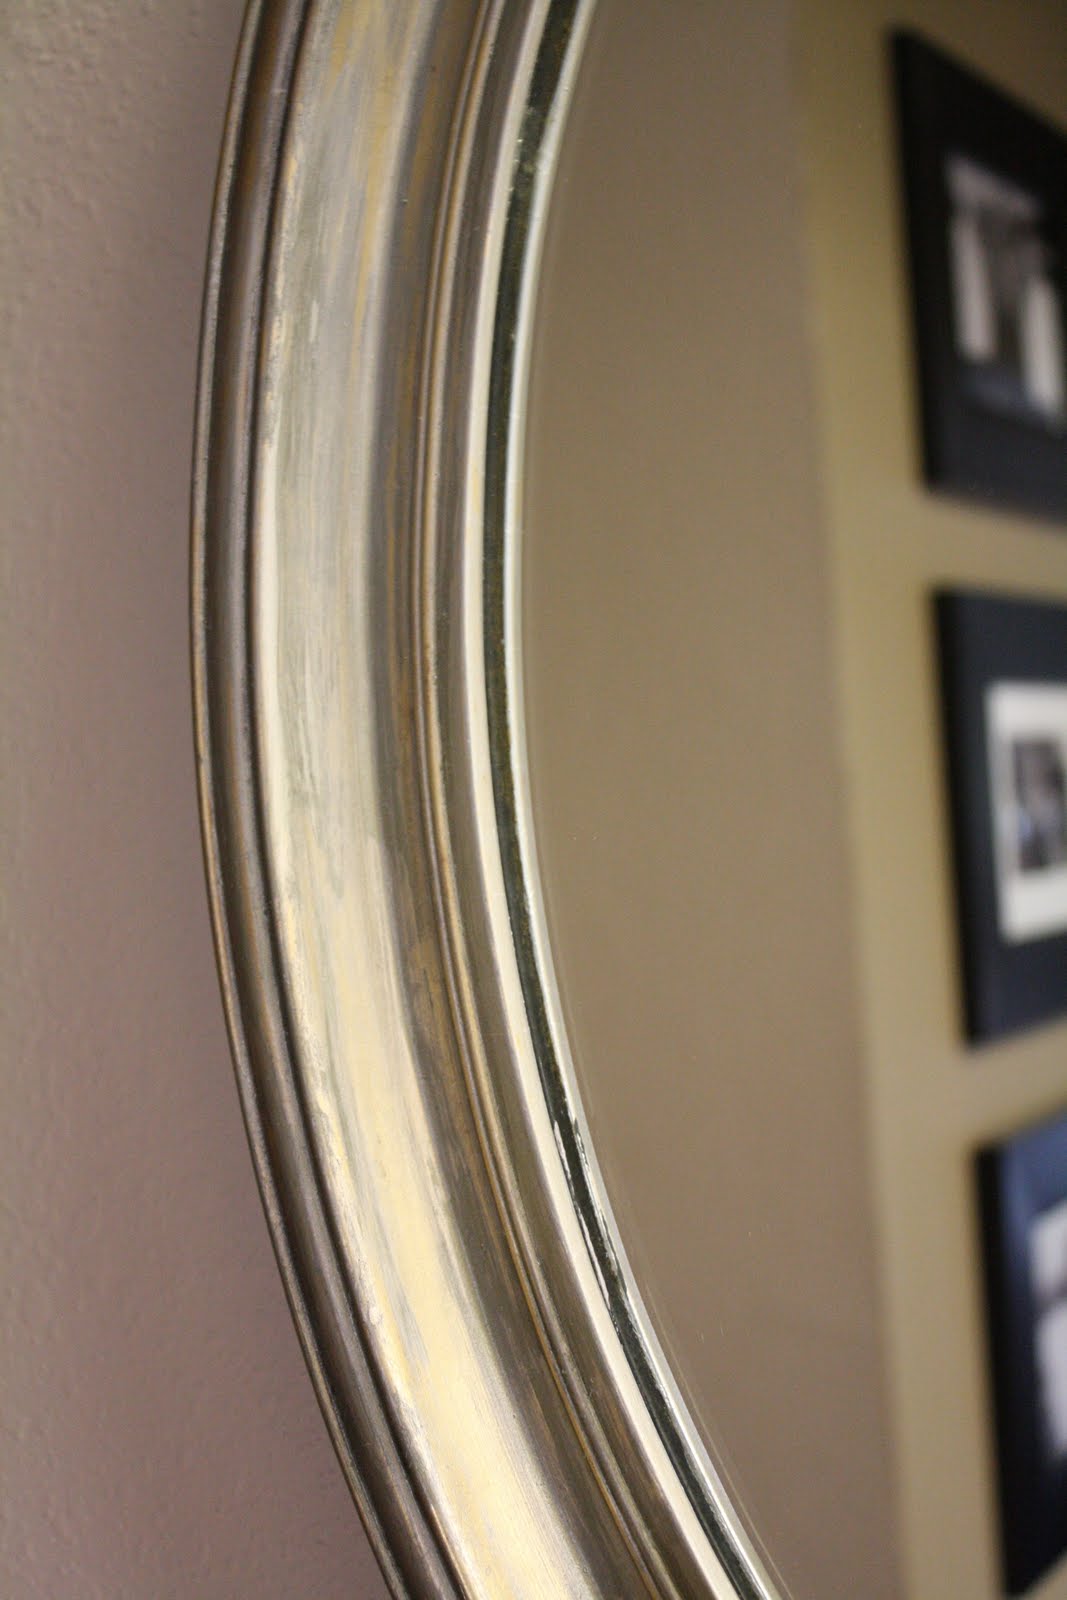
First up, this $8 mirror that I scored at a church rummage sale a few weeks ago. I actually kind of liked the gold metallic finish, but it just doesn't go with anything in my house. 

Gratuitous leg shot is a gift from me to you. Enjoy.

After a little faux silver leafing, black stain and some distressing, she fits in much better with our decor.
Not that you can really tell by these stellar pictures. Mirrors are hard to photograph!


Some of the gold peeks through because of the distressing I did, but I like it!


Next up is this little tray I made over. I found it in Hobby Lobby's clearance section (along with a bunch of other great stuff!) and knew I could make it over to sell in our booth.

After some white paint, a few painted stripes and distressing, I like this baby MUCH better!


I don't have a Before picture of my last project.. but they were another Hobby Lobby clearance score. Originally these hooks had a fleur d'lis painted on the front. I just painted right over it and then attached these metal numbers. 

The numbers stand for the ages my husband I are if you calculated it by how much water we drink daily, our sun exposure and how much sleep we get each day. 


Can you guess which one of us is 41???


Total BS up there on the numbers. Just some random numbers I picked. 
Wink Wink.

So what projects have you been doing? Do share!


Linking up:

Sunday, October 24, 2010

Project Central Station

This weekend has been a busy one at Casa Tiny Dancer! I set up shop at my sewing machine on Saturday and settled in for the long haul.

Here is a peek at a few of the bajillion projects I have in the works right now- in varying states of completion:


Striped Knit Blanket

This has actually been done for a while now! Can't wait to take some pics of our little girl snuggled up on this blanket!


DIY Baby Legs

I scored big time during a lunchtime trip to Target last week. They had a ton of women's knee-high socks for $2 each!
I plan to make them all into baby legs for you know who!


Knit Hats

I'm expecting her to come out with lots of hair, but it will still be cold when she arrives, and little bitty hats are a quick and satisfying project.


Beginners Quilt

This is my very first attempt at sewing a quilt! I'm pretty excited about it and am already dreaming up others I want to do down the line. I have the squares all sewn together, but still need to pick out a fabric for the backing.


Crib Bumper

It doesn't look like much.. yet. I cut out all of the pieces and sewed the piping for the bumper, so progress is being made on her bedding!


Crib Skirt

And finally.
The infamous crib skirt. I'm happy to report that she is DONE!
I'll be sharing pictures of the finished product soon! Let's just say I have been giving myself numerous pats on the back.
Also- this baby better be a girl!!!!

Thursday, October 21, 2010

Stretchy Pants: Part 2

After a long day of suffering in (semi) silence yesterday, I made the executive decision last night to remove a pair of my maternity jeans from the rotation. :(
This left me sad and angsty for a number of reasons.. That number being 2.

1. I only have 2 maternity items in my entire closet.
2. I have now cut my wardrobe down by 50%.

I knew when I purchased the two pairs of jeans that one of them was a little snugger than the other. One pair is regular/boot cut fit and the other are skinnies. My very first pair of skinny jeans. So of course they're a tighter fit in general. And yesterday was the flippin straw that broke the camel's back when I couldn't even sit at my desk in reasonable comfort and the drive home from work had me laying and cavorting all over the passenger seat. There also may have been some moaning and gnashing of teeth, but the details are fuzzy.

So once we got home and I was able to peel those suckers off, baby girl and I did a quick lap around the house to George Michael's "Freedom" and then I set out to fashion myself a replacement pair.

I had already checked the Forever 21 site and they no longer have their maternity jeans for sale, so that was out.
Is anyone else but me mildly disturbed that I seem to be the new, pregnant face of Forever 21?? I should be getting paid for this.

I feel you, buddy.

You guessed it. I cut up a pair of regular jeans to refashion them into what I affectionately call "stretchies". I nearly finished them last night, but then ran out of steam at the end. They should be completed tonight!

It wasn't too difficult of a project, but I was really hoping to make it to the end with both of my original stretchies in tact. The tough part for me is that I wear jeans constantly. And I've already exhausted a long list of pros and cons to try and reason my way into wearing yoga pants to the office. Not gonna happen. Of anyone in my building, I think I could pull it off, but everyone's a little miffed at me ever since the scale in the break room mysteriously stopped working, so I need to stay on good terms with HR. I have my own theories on who stepped on that baby for the last time, but I guess I can't blame them for pointing the finger at the scale-happy pregnant gal.

So hopefully I'll be able to show you my new pair soon! I'm also planning to share a few of my recent Tiny Dancer projects, in their various states of completion. I've got a lot to do!

Monday, March 8, 2010

Featured!

Woohoo!
My little craigslist chair makeover has been featured on Tip Junkie! Check it out!
This is a super cool site if you want a little dose of inspiration or creativity.


And thanks to Katie for suggesting I send in some of my goods!


Wednesday, March 3, 2010

Tick tock you don't stop


Oooooo, ooh ooh ooh ooooh ooh...

Get your minds out of the gutter. There wasn't a more fitting title than this- filthy school bus lyrics and all. Ah, the 7th grade...


I'm sure by now you have all seen this clock in the Pottery Barn catalog:


Love it. LOVE it.

Naturally, it's not for sale. None of the awesome accessories in their rooms ever are, are they?... but I guess if it did have a price tag on it, it would be somewhere in the four hundred and gimmeabigfatbreak range, which is just beyond my decor budget this week. So I decided I could make my own.

HMMPH.

And I totally did. Be prepared to be amazed. ;)

Lots of gratuitous clock pictures to follow. No actual time-telling is involved.


First, I went to the hardware store to pick up some wood and roamed around for about 20 minutes looking for some guy in an apron to cut it down to size for me. After running into another lady and her daughter who were looking for the same aproned man, I got a little peeved and started shouting down the aisle at a group of workers who clearly had nothing better to do than lean on the customer service counter at the front of the store. No way was I gonna walk the length of a football field carrying an 8x4 piece of wood just to tap some guy in an apron on the shoulder and then walk all the way back to the community saw when my lungs would do the job just fine. The other lady was very appreciative and I think it's safe to bet that I'm that little girl's newest role model. Just doing my part.


Back home, I set up shop in front of the TV (watched My Sister's Keeper.. totally cried all over my art project, but it was worth it) and got to painting.


I scrounged around in the garage for whatever paint we had on hand and mixed up a light, creamy color to start. I've also been hitting up the mismatched paint section whenever I go to Home Depot or Lowe's for small cans of colors I like and can mix. I highly recommend this. Just a little crafty tip from me to you.

My next layer was a little lighter and watered down, for a slightly white-washed look to age it up a bit.


I didn't take any pics of the next step, but I used a box cutter and a flathead screwdriver and hammer to gouge little cracks in the grain of the wood. Then I got out some craft paint in brick red, yellow and a wrought iron gray color. I read another blog post somewhere along the line of a lady who also made this clock, and all I can remember is that she used red and yellow paint to create the rusted look in the cracks, so I thought I should too. I wasn't loving the ketchup and mustard look, so I rubbed the color using a rag just barely dipped in water to tone it down a bit. Then I went in with the blue/gray for some more dimension.


On to the numbers! I printed out an X, V and two I's to do all the numerals. I used a push tack and a piece of string to lightly draw the outer circle and line up where each numeral should go. I just lightly painted in the numerals with a black/gray paint mix and didn't worry about getting it too perfect.

Looking good! But she needed a little more aging, so I busted out the glaze:

Ahhh, much better!


Here she is in her new home in the dining room:


Don't mind my dead plants.. I can't keep a plant alive to save my life.

You like??


Related Posts Plugin for WordPress, Blogger...