
I'm so excited for the first Christmas that Evie will (hopefully) remember. She's so much fun right now and I can't wait to start all sorts of fun traditions with her. An Advent Calendar was definitely on my list to make to kick things off.
After scouring Pinterest for ideas, here's the one I made:

What do you think? I kind of love it.
Here are some quick and easy steps on how I did it. But it was so easy, I think it's pretty self-explanatory :)
First up, buy a canvas or repurpose an old one laying around your house, like I did. This one had the alphabet painted on it in a range of blue hues. A pre-pregnancy nursery project that never quite made the cut.
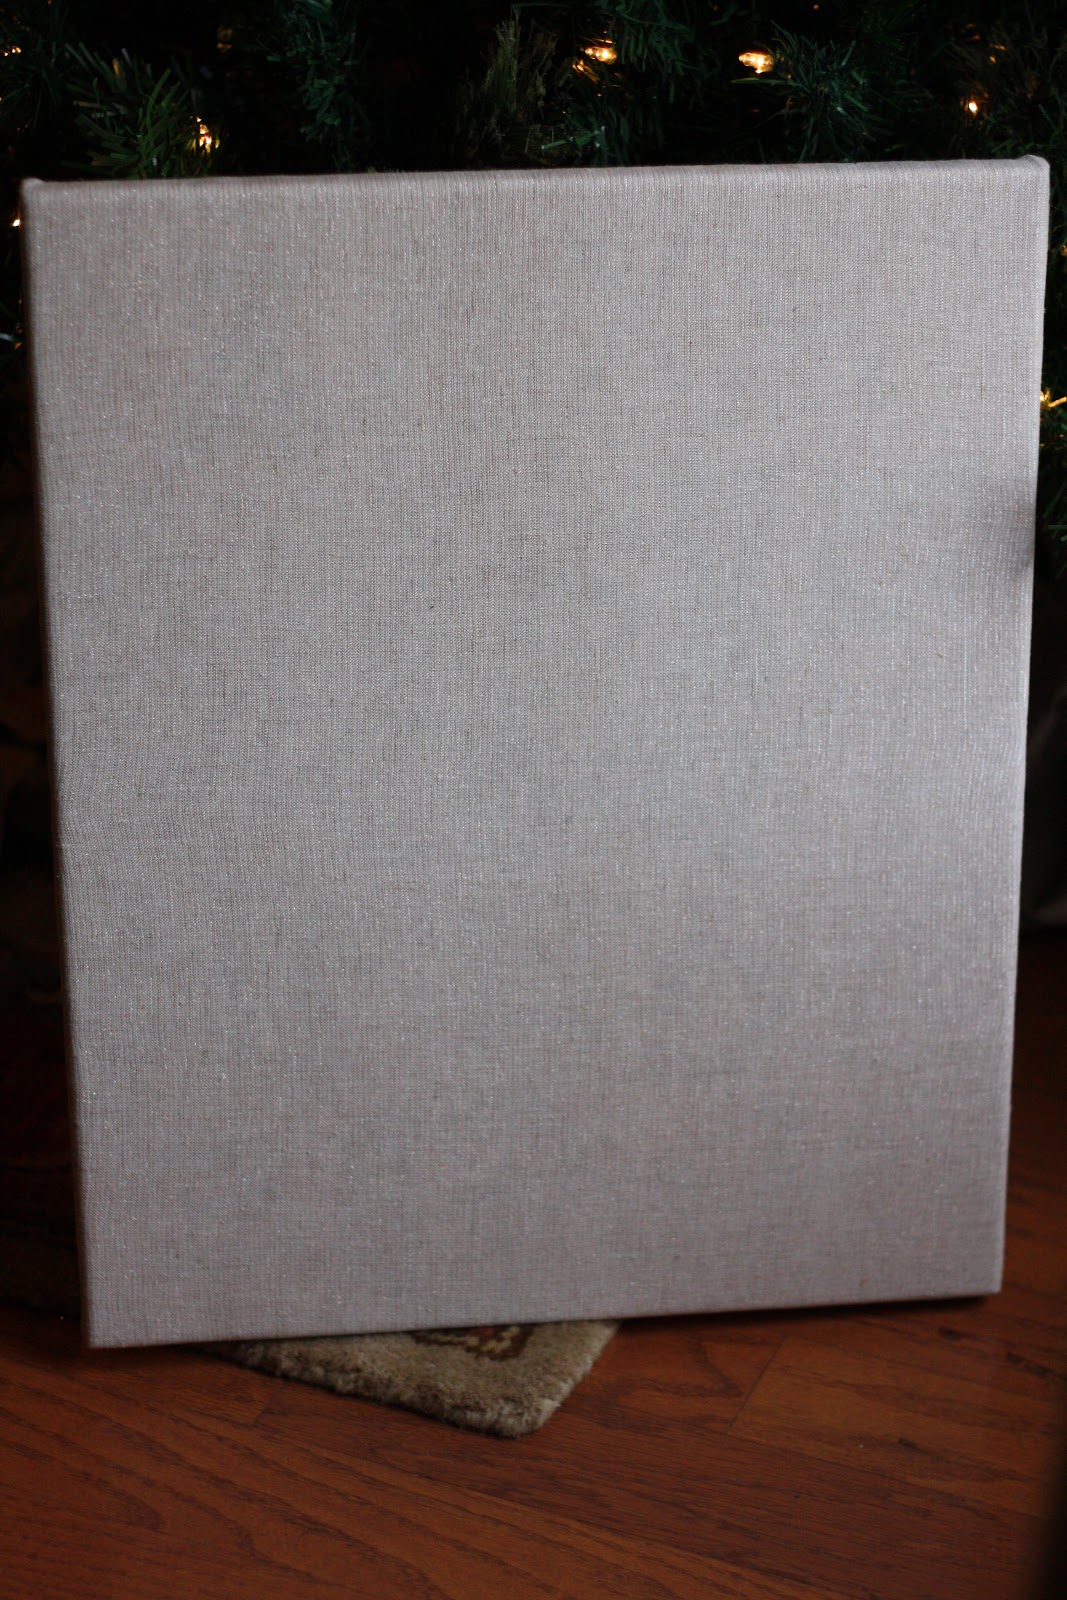
Find some fabric or wrapping paper you like and attach it to your canvas. I snagged some metallic linen in the remnant bin at JoAnn's a while back that was perfect for this. I just stapled it to the wooden frame of the canvas. You probably wouldn't want to staple wrapping paper.. would you? I don't know. It might rip. But your trusty glue gun would probably do the trick.

Make some little paper envelopes for each of the 25 days. I used some craft paper that I found underneath a roll of wrapping paper! But you could use card stock in any color you like. I used tacky glue to hold the envelope together.
*Make sure you do a little measuring before you make these, to see how big they should be. Mine were around 2 x 2.5 inches, which worked with the size of my canvas.


After I had all my envelopes numbered, I laid them out to see how they looked. Fan-flippin-tastic.
I like things to be lined up correctly, so I did some more measuring and used some painters tape as a guide when I started gluing these to my fabric (more tacky glue). I seriously would have had to throw this out or rip them off and start all over if they ended up crooked. But I'm weird like that.

Put some heavy books on top while they're drying, then start on your activities!
As I've mentioned before, I didn't want to do presents for each day. I really want to create memories with Evie, so I came up with things that we can do together and for others.

I used tags that we use to price items in our booth, so half my work was already done. These are tea or coffee stained (thanks Mom!), which gives them an aged look that I really like.

And finally, I just tied some twine on each tag! Easy peasy. I wish I had some fun red bakers twine, so that may get switched out down the line..

What do you think? I didn't do any extra embellishments or anything, because I want to use this for years, and don't want it to start looking dated (though I'm sure that's inevitable). Plus, I'm a simple kinda gal and this look really appeals to me. So there.

Will you be making an Advent Calendar this year??
Linking up:


** I'll be sharing this project on a local morning show on December 1 for those of you that know me in real life! Mom- remind me and I'll send you a link to see it when it airs! :)
Great job! I love the simplicity of it. Came over from Home Stories A to Z and am now following along!
ReplyDeleteSuper sweet. Good luck with your morning show appearance. :)
ReplyDeletei adore this--so darling~
ReplyDeleteoh what a neat idea!!! making memories.can't wait to see the morning show.
ReplyDeleteSo cute! I'd like to make an advent calendar last minute and I think yours is the winner! Thanks for sharing.
ReplyDeleteThis is so cool. I love the simplicity of it. The craft paper is perfect. Found you at Hi Sugarplum.
ReplyDeleteOK, I got mine made! I mentioned your adorable calendar in my post...thanks for the inspiration!
ReplyDeleteI love this advent calendar! the tags are so cute, and your penmanship is lovely!! thanks for linking up!
ReplyDeleteGreat blog you have hhere
ReplyDelete